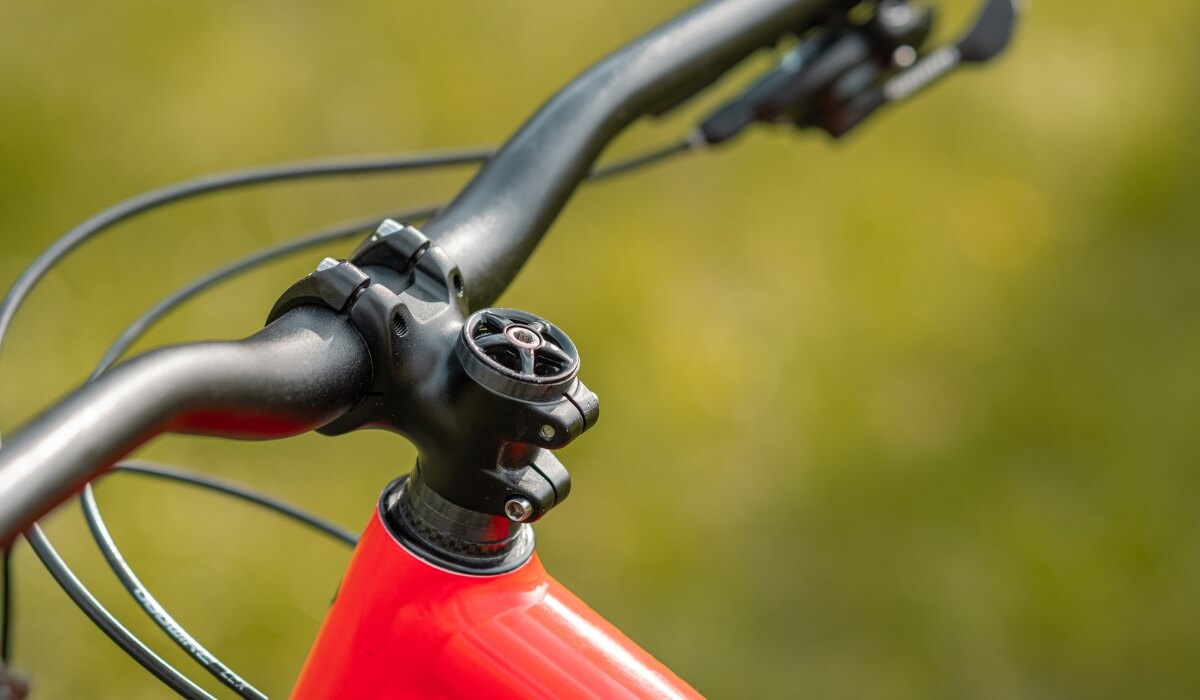
What’s not to love about a bike? They are an excellent way to go around, exercise, and spend quality time with yourself or others. Of course, they’re a lot of fun too. Most individuals like riding their bikes on weekends. However, if you’ve been riding your bike for some time, you’re likely to want to modify it. Changing your bicycle headset cap (or stem cap) is the most simple and cost-effective way to personalize your bike.
In this blog post, we will show you how to change your headset cap in a couple of simple steps.
Let’s get started with some basics.
What kind of headset are we talking about?
First, we’ll talk about a “threadless” stem. This stem is designed such that your bicycle’s fork steerer tube extends into the head tube. A stem clamps around the outside of the steerer tube, keeping it securely in place and allowing you to attach your handlebars to steer your bike.
The headset cap is a small, circular cover that fits over the top of your bike’s head tube. It is often constructed of aluminum, plastic, or brass, and is utilized during installation to provide a preload on your cockpit assembly. After that, it’s mostly cosmetic. In fact, what we see is an incredible place to customize your bicycle and actually make it your own.
What are bicycle spacers used for?
Metal or carbon fiber spacers are frequently used to stack between the stem and the head tube to improve the rider’s comfort level. They come in a variety of sizes, from 2.5mm to over 20mm. These rings fit between the stem and the head tube and move over the steerer to adjust the stack height to the particular rider’s requirements.
What does a headset cap do?
The headset cap adjusts the preload of your headset bearings. It doesn’t hold your stem or fork in place. It is primarily intended to hold everything in place during installation or headset adjustment.
A headset cap (or stem cap) is not an integral part of the cockpit. When it comes to tightening your headset cap bolt, do not overdo it. Over-tightening can cause damage to your headset, damaged bolts, and is often unneeded.
When you have a loose cockpit, it is a common mistake to try to tighten the headset cap. In most cases, this does not fix the rider’s problem. To properly tighten the bicycle cockpit, first loosen the stem, then make minor adjustments to the bicycle headset cap to compress everything back into position. Again, don’t go too tight or you’ll do damage. You just want to stack all of the bicycle headset components, including the steerer and stem. Then, retighten your stem clamp bolts.
A bicycle headset cap can also protect a rider from damage by covering the top of a cut steerer tube. If an accident occurs, some claim that the stem cap cover reduces the number of potential areas where a puncture wound could occur.
What does a bicycle headset cap really do?
We believe that a bicycle headset cap provides an excellent opportunity to personalize your bicycle.
In the United States, over 17 million bicycles are sold each year. Customizing your bicycle stem cap allows you to make your bike unique. From hilarious artwork to inspiring words, it’s an excellent location to make a quick and inexpensive change to your bicycle.
Simply get accustomed to hearing from your riding mates, “Where did you get that headset cap?”
Tools needed to change a bicycle headset cap
This is a very straightforward procedure, so let’s begin with the tools you’ll need to replace your headset cap.
What You’ll Need:
- Bicycle headset cap or stem top cap
- Allen wrench set (typically a 4mm Allen wrench)
- Hex wrench set (less common, but in case your headset cap bolt is a hex pattern)
- A thin flat head screwdriver
Replacing your bicycle headset cap: The Procedure
Replacing your bicycle headset cap is a simple task. All you need are a few basic tools and around 3 minutes of time. Here’s how.
After you’ve gathered your tools, it’s time to get started. The first step is to take off the original bicycle headset cap. This can be done using a hex key or an Allen wrench.
Next, take off the old bicycle headset cap bolt. This is normally done with an Allen wrench of the proper size. In most cases, it’s a normal four-millimeter Allen wrench. (This is also the size for the headset cap bolts.)
With your headset cap bolt gone, you may remove your previous headset top cap. If it is stuck, use a flat-head screwdriver to pry it loose. (Be careful not to harm any of the cockpit’s surrounding components.)
Once you’ve removed your old bicycle headset cap (or stem top cap), replace it with your new Dispatch Custom Cycling Components headset cap. Thread the replacement bolt through the star nut and tighten. Remember not to overtighten the bicycle headset cap bolt. You just want to compress all of your bicycle headset pieces into a compact stack.
To give an extra layer of protection, apply threadlocker to the threads of your new bicycle headset cap bolt to keep it from backing out on the trail or road.
You’re done! You’ve just replaced your bicycle headset cap!
Now go enjoy a ride and admire that sweet new custom bicycle headset cap!


